
Comprehensive Guide on Preparing Your Vehicle for Painting!
Painting your vehicle can be a fulfilling and cost-effective way to refresh its appearance. Whether you’re a DIY enthusiast, a car owner looking for a weekend project, or an auto body shop professional aiming to perfect your skills, proper preparation is crucial for achieving a stunning, long-lasting paint job. In this comprehensive guide, we’ll walk you through the essential steps and tips to prepare your vehicle for painting, ensuring a smooth, professional-looking finish.
Why Proper Preparation is Essential
Before diving into the steps, it’s important to understand why meticulous preparation is key. Proper preparation:
- Ensures better paint adhesion.
- Reduces the risk of imperfections like bubbles, cracks, and peeling.
- Enhances the durability of the paint job.
- Provides a smoother, more even finish.
- Saves time and money by minimizing the need for rework.
Step-by-Step Guide to Preparing Your Vehicle for Painting
1. Gather Your Tools and Materials
Before starting, make sure you have all the necessary tools and materials:
- Sandpaper (various grits: 80, 120, 220, 320, 400, 600)
- Sanding block or orbital sander
- Body filler and spreader
- Masking tape and plastic sheeting
- Primer and primer sealer
- Wax and grease remover
- Spray gun or paintbrushes
- Safety gear (gloves, goggles, respirator mask)
2. Choose the Right Location
Select a well-ventilated, dust-free area for your painting project. If you’re painting indoors, ensure proper ventilation to avoid inhaling harmful fumes. A clean, controlled environment will help avoid contaminants from settling on the surface during painting.
3. Clean the Vehicle Thoroughly
Wash your vehicle with soap and water to remove dirt, grease, and debris. Pay special attention to areas where dirt may be trapped, such as seams and edges. After washing, use a wax and grease remover to ensure the surface is completely clean and free of any contaminants.
4. Remove or Mask Trim and Hardware
Remove any trim, emblems, and hardware that you don’t want to paint. For items that cannot be removed, use masking tape and plastic sheeting to protect them from overspray. Make sure to cover windows, tires, and other exposed parts to prevent accidental damage.
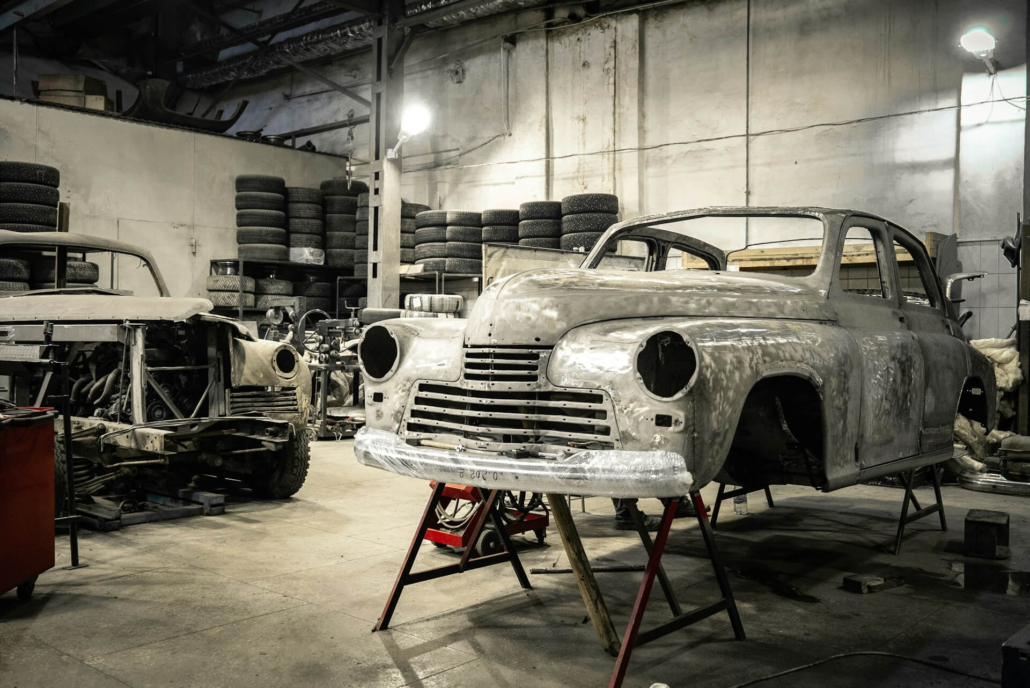
5. Sand the Surface
Sanding is crucial for creating a smooth surface and promoting paint adhesion. Start with coarse-grit sandpaper (80-120 grit) to remove old paint, rust, and imperfections. Gradually move to finer grits (220-320 grit) to smooth out the surface. Use a sanding block or orbital sander for larger areas and hand sand smaller, intricate sections.
6. Repair Any Damage
Inspect your vehicle for dents, scratches, and rust spots. Use body filler to repair dents and deep scratches. Follow the manufacturer’s instructions for mixing and applying filler, and sand the repaired areas smooth once it has cured. For rust spots, use a rust converter or remove the rust completely before applying primer.
7. Apply Primer
Primer acts as a base coat, providing a uniform surface for the paint to adhere to and enhancing its durability. Choose a high-quality automotive primer and apply it evenly using a spray gun or paintbrush. Allow the primer to dry according to the manufacturer’s recommendations, then sand it lightly with fine-grit sandpaper (400-600 grit) to create a smooth surface.
8. Clean the Vehicle Again
After sanding the primer, clean the vehicle once more using a wax and grease remover. This step is crucial to remove any dust, debris, or oils that could affect the final paint finish.
9. Mask Off the Vehicle
Reapply masking tape and plastic sheeting to protect areas you don’t want to paint. Double-check that all trim, windows, and hardware are properly covered.
10. Apply the Paint
Now comes the exciting part applying the paint! Use high-quality automotive paint and follow the manufacturer’s instructions for mixing and application. Apply multiple thin coats, allowing each coat to dry before applying the next. This will help achieve a smooth, even finish without runs or sags.
11. Apply Clear Coat
Once you’ve achieved the desired color and coverage, apply a clear coat to protect the paint and enhance its shine. Follow the same process as with the paint, applying multiple thin coats and allowing each to dry in between.
12. Inspect and Touch Up
After the clear coat has dried, inspect your vehicle for any imperfections or missed spots. Use touch-up paint and a fine brush to correct any issues. Allow the touch-ups to dry completely.
13. Remove Masking and Reassemble
Carefully remove the masking tape and plastic sheeting. Reattach any trim, emblems, and hardware that you removed earlier.
14. Final Polishing
For a showroom-quality finish, consider polishing your vehicle after the paint has fully cured. Use a high-quality automotive polish and a soft cloth to bring out the shine and protect the new paint job.
Tips for a Professional-Looking Finish
- Patience is Key: Take your time with each step to ensure the best results. Rushing can lead to mistakes and imperfections.
- Practice Makes Perfect: If you’re new to painting, practice on a small, inconspicuous area or a spare panel before tackling the entire vehicle.
- Follow Manufacturer Instructions: Always follow the instructions provided by the manufacturers of your paints, primers, and other materials.
- Safety First: Wear appropriate safety gear, including gloves, goggles, and a respirator mask, to protect yourself from harmful chemicals and fumes.
Conclusion
Preparing your vehicle for painting is not an easy task and requires much attention to detail to ensure a professional finish. Luckily, this website provides a comprehensive guide to help you achieve just that. Whether you fancy yourself a DIY enthusiast or you’re in the auto body shop business, this guide has everything you need to navigate the meticulous process of vehicle preparation. By following these steps, you can guarantee that your car’s appearance and value will be enhanced significantly. So why wait? Start your painting project today and achieve your desired professional-looking results with this website’s help.
Ready to roll up your sleeves and get started? Happy painting!

